The Windows 11 operating system from Microsoft comes with several performance-related features and one of them is Hardware-Accelerated GPU Scheduling. When enabled, the feature helps to reduce latency and improve performance by allowing the graphics card to manage its memory.
But given that this is a new feature, there are a few requirements for it to work properly. It needs to be running the latest graphics driver from the manufacturer, and currently, only certain cards are supported. Nvidia supports Hardware-Accelerated GPU Scheduling, starting with its driver version 451.48 and higher. For Intel, it is available since driver version 27.20.100.8190 and for AMD, it needs to be a 56000 series card or later.
If your system meets the requirements and you want to enable this feature, then here is a step-by-step guide on how you can enable the hardware-accelerated GPU scheduling on Windows 11 through the Settings app.
How to enable hardware-accelerated GPU scheduling in Windows 11
Step 1: Open the Settings application on your computer. For this, click on the Start Menu and select the Settings app (gear icon) or press the Windows + I keys on the keyboard.
Step 2:When the Settings app opens, click on the “System” option.
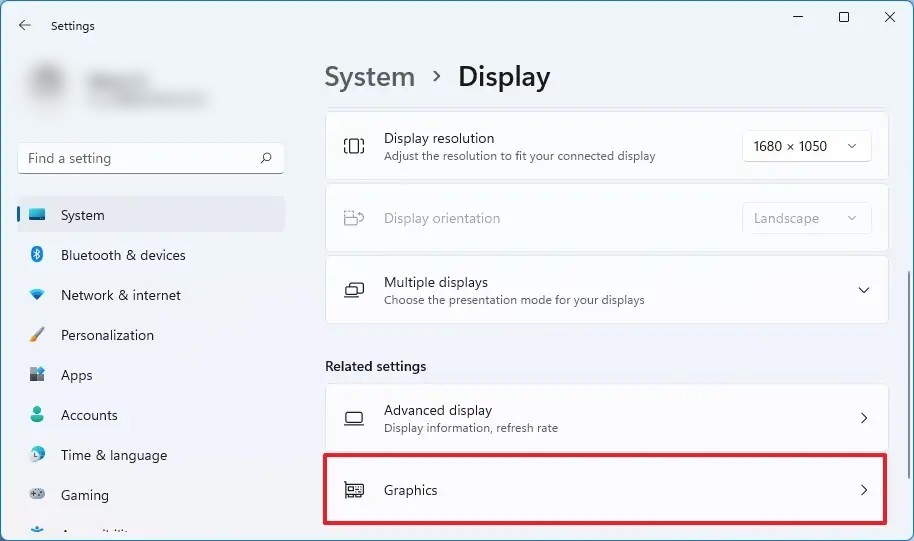
Step 3: After that, click on the “Display” option on your right side of the window.
Step 4: Under the “Related settings” section, click the “Graphics settings” option.

Step 5: Click on the “Change Default Graphics Settings” option.
Step 6: Turn on the “Hardware-Accelerated GPU Scheduling” toggle switch to enable the feature.
That’s it. You can now restart your Windows 11-powered computer for the changes to take effect. Once the system reboots, the newly made changes to the system should apply and the device will start seeing better latency and performance.

