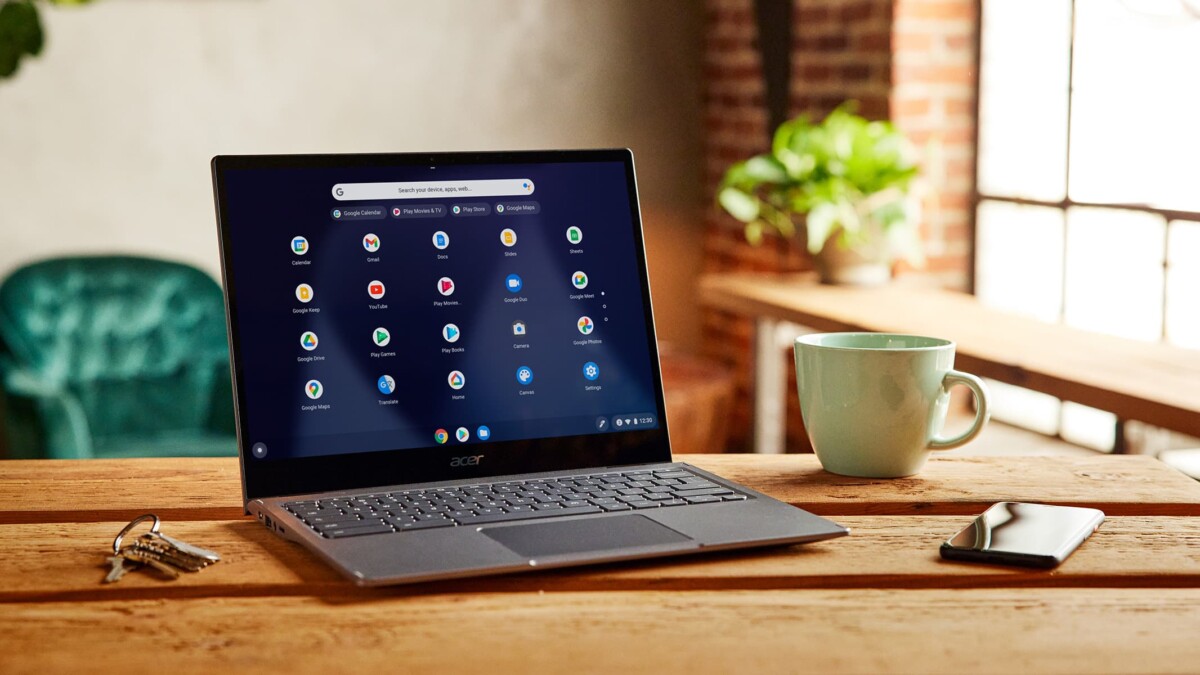
Chromebooks are budget-friendly laptops that are made for people who do most of their work online. While such devices are popular in educational institutes, they are also popular in the retail market when it comes to cheaper laptops. It’s a perfect device for those who don’t need much apart from the Chrome web browser on their device.
Given that it’s basically an enhanced Chrome web browser, the device is pretty hard to hack, which makes it a good choice for those who want security. It also means that the Chromebook doesn’t support installing the regular application that may have become necessary for day-to-day usage.
If you are someone who takes privacy protection seriously and uses VPN to protect the identity and web traffic, then you might not be able to have a direct application for the Chromebook. However, you can install an Android application on Chromebooks and if the VPN has an Android app, then you can install it.
In this step-by-step guide, we will show you how to install a VPN application on your Chromebook by downloading the app from the Google Play Store.

How to install VPN application on Chromebook
Step 1: Open the Play Store application on your Chromebook. For this, click on the application from the desktop or from the Menu.
Step 2: When the app opens, type the name of the VPN service you want to install on your device in the search bar.
Step 3: Click on the “Install” button for the application once you find it in the Play Store.
Step 4: Once the installation is completed, open the VPN application and log into the account. If you haven’t already registered your account yet or subscribed to the service, you can sign up for the service.
Step 5: After logging into the account, go back to the application and click on the “Connect” button to start the VPN connection.
That’s it. If you have successfully followed the above-mentioned steps for installing the VPN application on your Chromebook and logged into the account to establish a connection, you will see a message that indicates that the VPN has been connected or the connection has been established.
