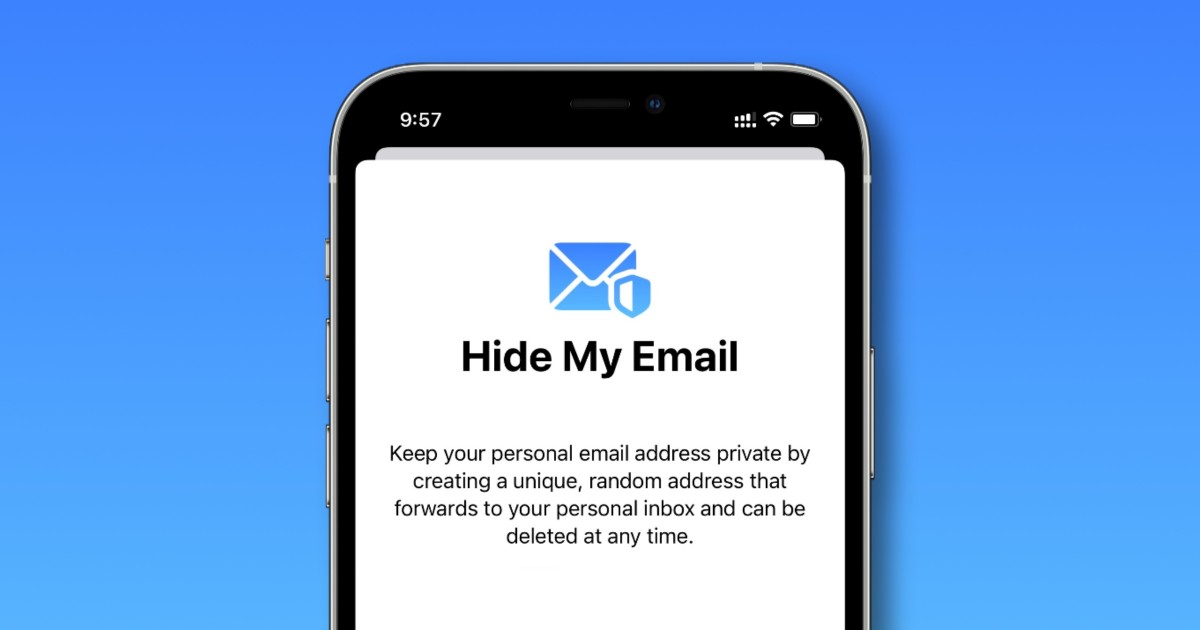
Apple’s new iOS 15 feature comes with a few features called Hide My Email which is exclusively available to iCloud+ subscribers. With this service, you can create unique and random email aliases that forward the actual email to your email address, keeping your personal email address private.
The feature really comes in handy if you are sharing your email address with several online services which then keep spamming users. So, once you are done with that particular service provider, you can simply delete the Hide My Email alias of that service and stop receiving emails from them.

If you have created many aliases using Hide My Email feature and are now looking for a way to change the email address where it is forwarded, then here is a step-by-step guide you can follow.
How to change Hide My Email forwarding address
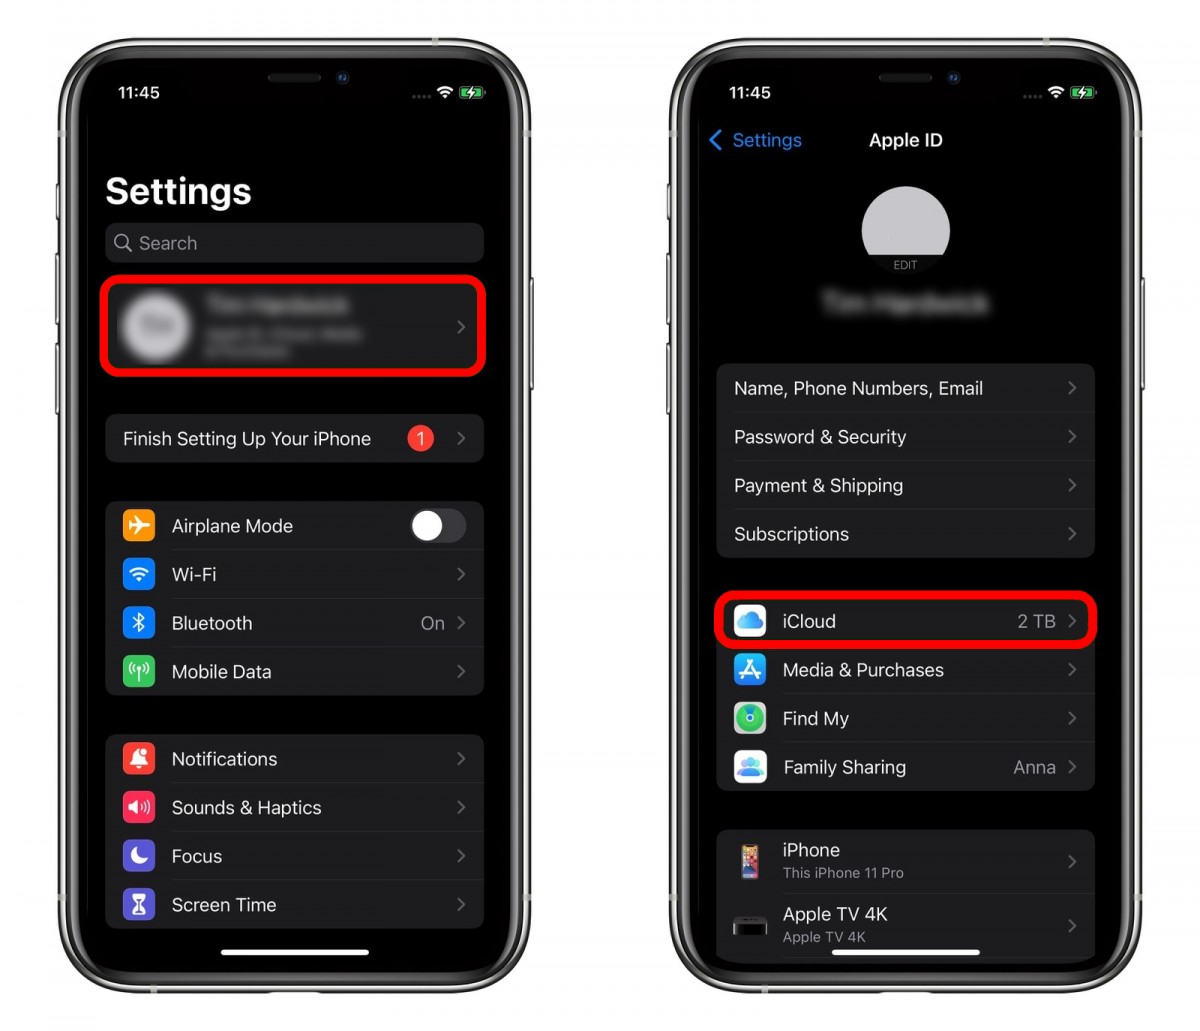
Step 1: Open the Settings application on your iPhone or iPad and tap on the Apple ID with your name on the top of the menu items.
Step 2: You will now be in the Apple ID settings. From the list of options available there, click on the “iCloud” option.
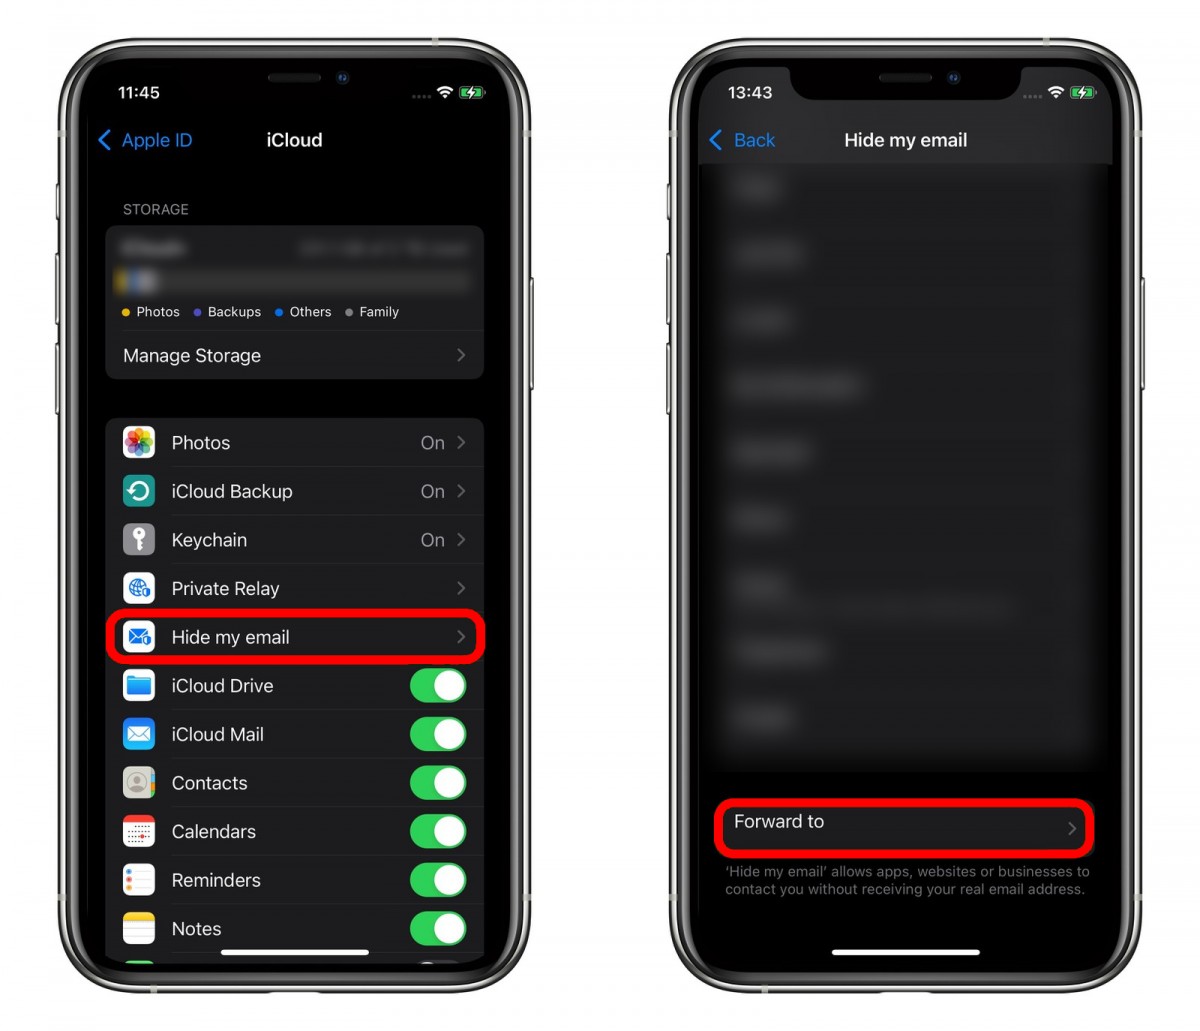
Step 3: Now, scroll through the options and tap on the “Hide My Email” option.
Step 4: In the Hide My Email settings screen, scroll to the bottom of the page and tap on the “Forward to” option. Select one of your email addresses and then tap on “Done.”
That’s it. You have now successfully changed the forward to the email address for your Hide My Email aliases. This means that from now onwards, whenever any of your Hide My Email aliases receives a new email, it’ll be automatically forwarded to the email address you just selected.


