When setting up the Windows 11 computer for the first time, the system asks for the user details and sets up a new account. However, there’s also an “Administrator” account in the Windows operating system which comes disabled by default as it may pose a security risk if not used carefully.
However, the Administrator comes in handy if advanced users way to troubleshoot problems or manage some system settings. If you are among those users and want to enable the Administrator account on your system, then you can do so.
There are a few different ways to enable the Administrator account in Windows 11 and in this step-by-step guide, we will show you how to quickly enable the Administrator account using Command Prompt and PowerShell.

Method 1 – Using Command Prompt
Step 1: Open the Start menu on your Windows 11 computer.
Step 2: In the Start menu, search for “Command Prompt” and from the search results, right-click on the app and select the “Run as administrator” option.
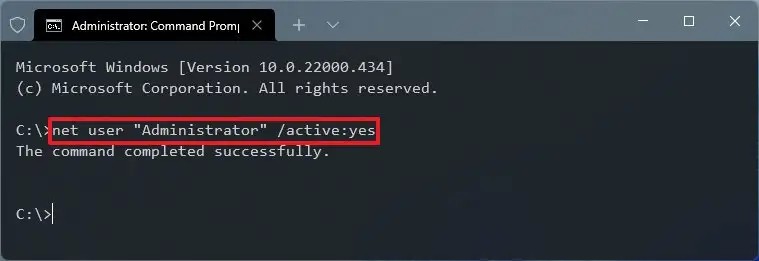
Step 3: Now, in the command prompt window, enter the following command:
net user "Administrator" /active:yes

That’s it. The Administrator account has now been enabled on your computer and you can start using it.
Method 2 – Using PowerShell
Step 1: Open the PowerShell application on your computer. You can press the Windows + X keys on the keyboard and then select “PowerShell” from the context menu.
Alternatively, open the Start many and search for “PowerShell” and then from the search results, select the “Run as administrator” option.
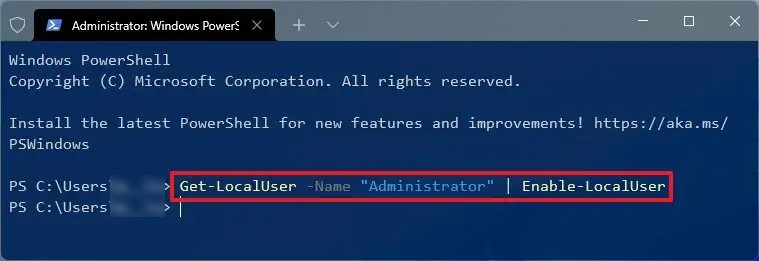
Step 2: In the PowerShell window, enter the following command and press the Enter key:
Get-LocalUser -Name "Administrator" | Enable-LocalUser

That’s it. You have now successfully enabled the Administrator account on your Windows 11 computer. You can now sign out from the current account and log in with this newly activated Administrator account.
