PowerShell is a powerful tool for the Windows operating system and offers a lot of functionality for advanced users. In this guide, we will be showing you a simple procedure of how you can zip and unzip files just through commands using the PowerShell application.
ZIP file format and holding compressed data come in handy as it saves disk space, encrypts data, and makes it quite easy to share data with others given that all the data content is compressed into a single file.
Zip files using PowerShell
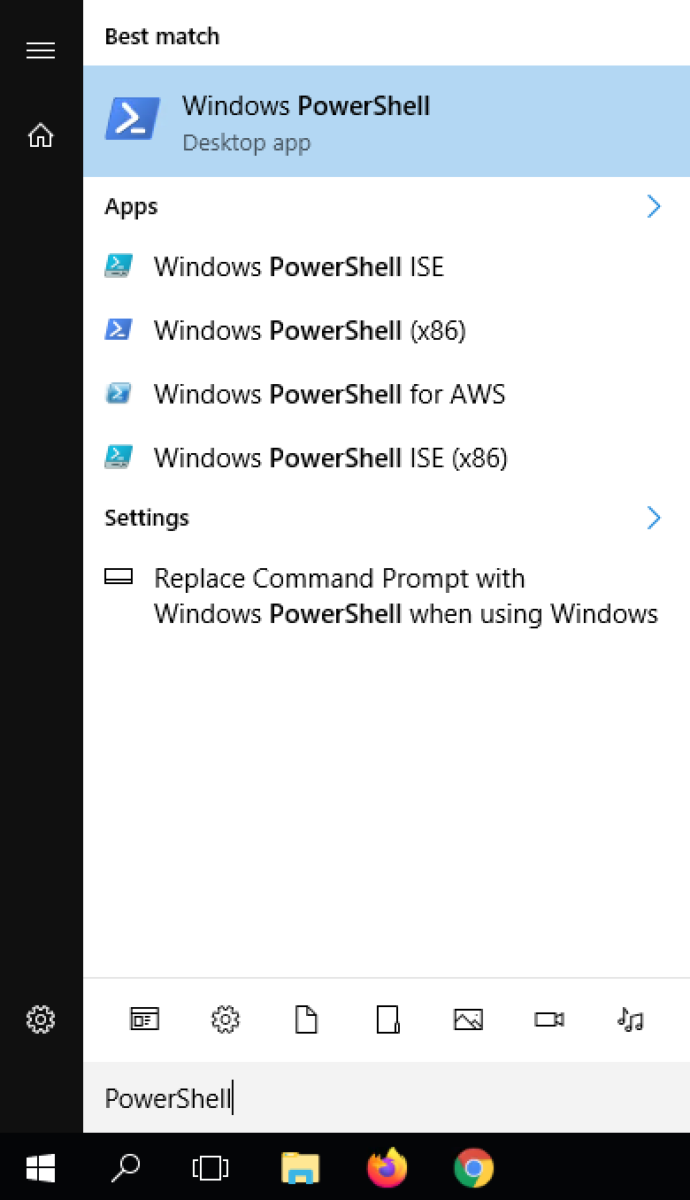
- Open PowerShell on your computer. To do so, click on the Start button and then type in “PowerShell” and select the first application shown.

- In the PowerShell window, type in the following command:
Compress-Archive -LiteralPath <path-to-files> -DestinationPath <path-to-destination>
Make sure to change the <path-to-files> to the actual path of the file you want to zip and <path-to-destinatiom> with the location where you want to save the file.

- You can also put the path of the folder instead of files to zip all the content of that folder into a zip file.
Unzip files using PowerShell
- Open PowerShell on your computer. To do so, click on the Start button and then type in “PowerShell” and select the first application shown.

- In the PowerShell window, type in the following command:
Expand-Archive -LiteralPath <PathToZipFile> -DestinationPath <PathToDestination>
Make sure to change the <path-to-files> to the actual path of the zip file and <path-to-destinatiom> with the location where you want to save extracted files.

If the folder you mentioned doesn’t exist at that location, PowerShell will automatically create the named folder and extract all the files there.
We’ve written a lot of guides related to Windows 10, macOS, Android, iOS, Chromebooks, among others. So, make sure to check out our Guides section for more of such helpful guides and tips.

