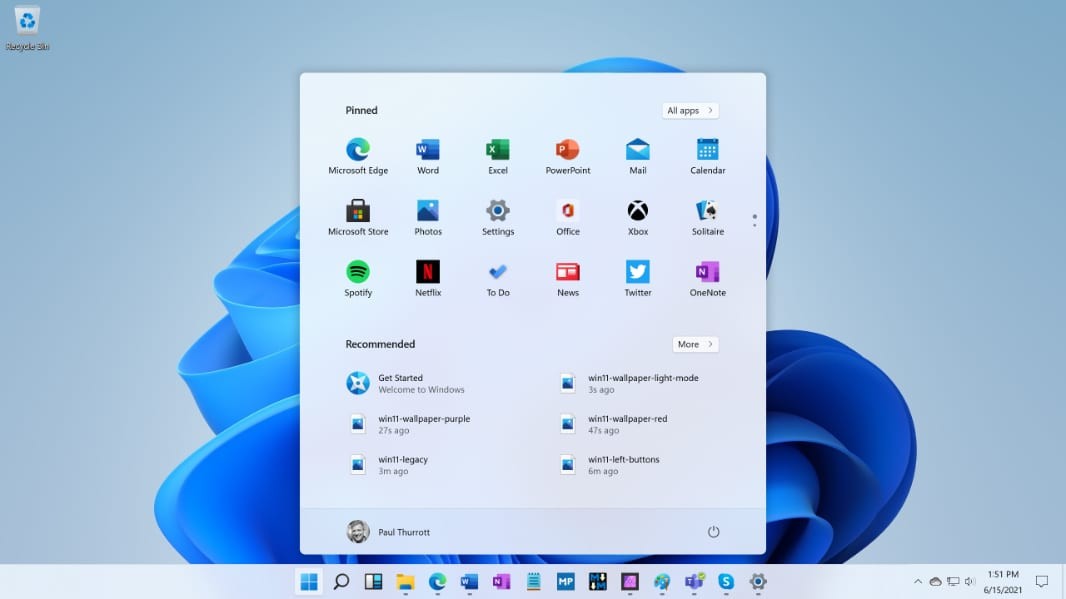
The Windows 11 operating system comes with several new features in almost every aspect to make the user’s experience better. Among other features, the company has also added a notification feature whenever there’s something that requires the user’s attention.
The operating system has two types of notifications — System and Apps & Services. System notifications include system updates, security-related alerts, and hardware problems, among others. On the other hand, the Apps and Services notifications are related to the apps installed on the device.
Whenever there’s a notification related to apps and services that requires the user to take some type of action, then it will blink red animation on the taskbar. This feature can be enabled or disabled through Settings, based on the user’s requirements.
In this step-by-step guide, we will show you how to quickly and easily enable or disable the Flash on Taskbar apps feature on Windows 11 operating system devices through System Settings.

How to enable Flash on Taskbar apps in Windows 11
Step 1: Open the Settings application on your computer. To do this, search for the application in the taskbar or press the Windows + I keys on the keyboard.
Step 2: When the app opens, click on the “Personalization” option from the left sidebar.
Step 3: On the right side of the window, select the “Taskbar” option to expand it.
Step 4: In there, check the box for the “Show flashing on taskbar apps” option.
That’s it. Once you have followed this step-by-step guide on your Windows 11 computer, then you have successfully enabled the Flashing feature on the taskbar apps. If you want to disable this feature, then follow the same steps as above and remove the checkmark for the option, and that should turn the feature off.

