Microsoft Edge is currently the trending browser, thanks to the company’s decision to switch to Chromium engine. It comes with improved performance as well as support for Chrome extensions.
There are several other features that are unique to the Edge browser itself, such as Collections and Tracking Prevention. Just like most other modern browsers, it also comes with support for multiple user profiles.
In this guide, we will show you how you can create and use multiple profiles on your Microsoft Edge browser and manage them to make the most out of this feature. Since the interface of the browser is same on all platforms, this guide is applicable for both Windows and Mac operating system.
How to create new profiles on Microsoft Edge
Step 1: First of all, open the Edge browser on your system.
Step 2: Now, click on the profile icon in the top-right corner.
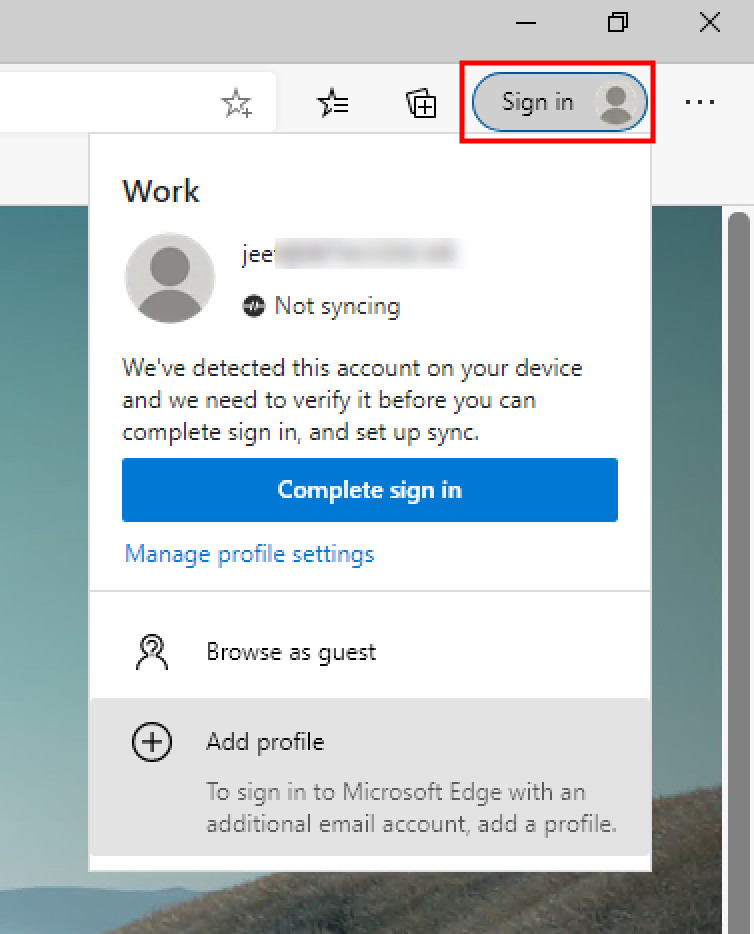
Step 3: From the drop-down menu, click on the “Add Profile” option.
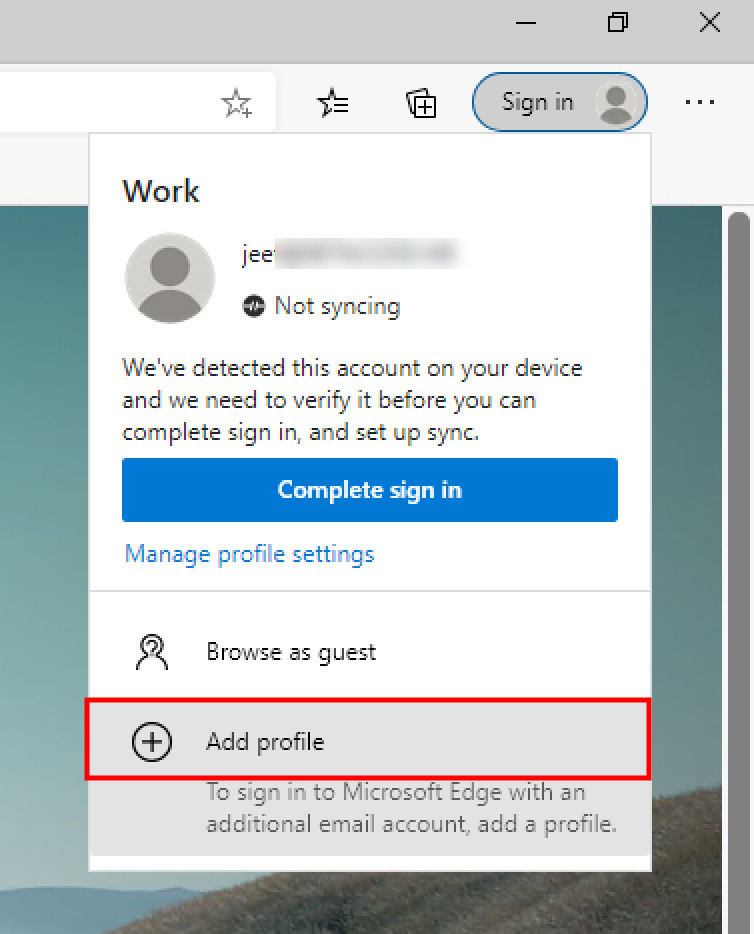
Step 4: Now click on the “Add” button.
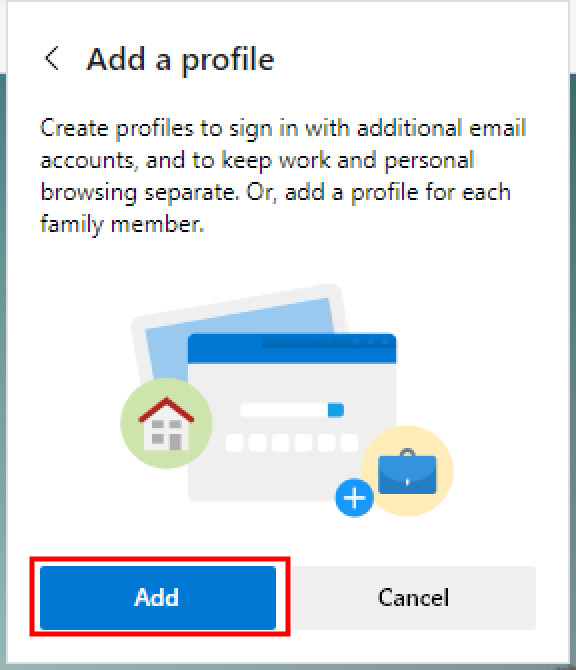
Step 5: A new Edge window will open and click on “Confirm” button on the pop-up screen on that window.
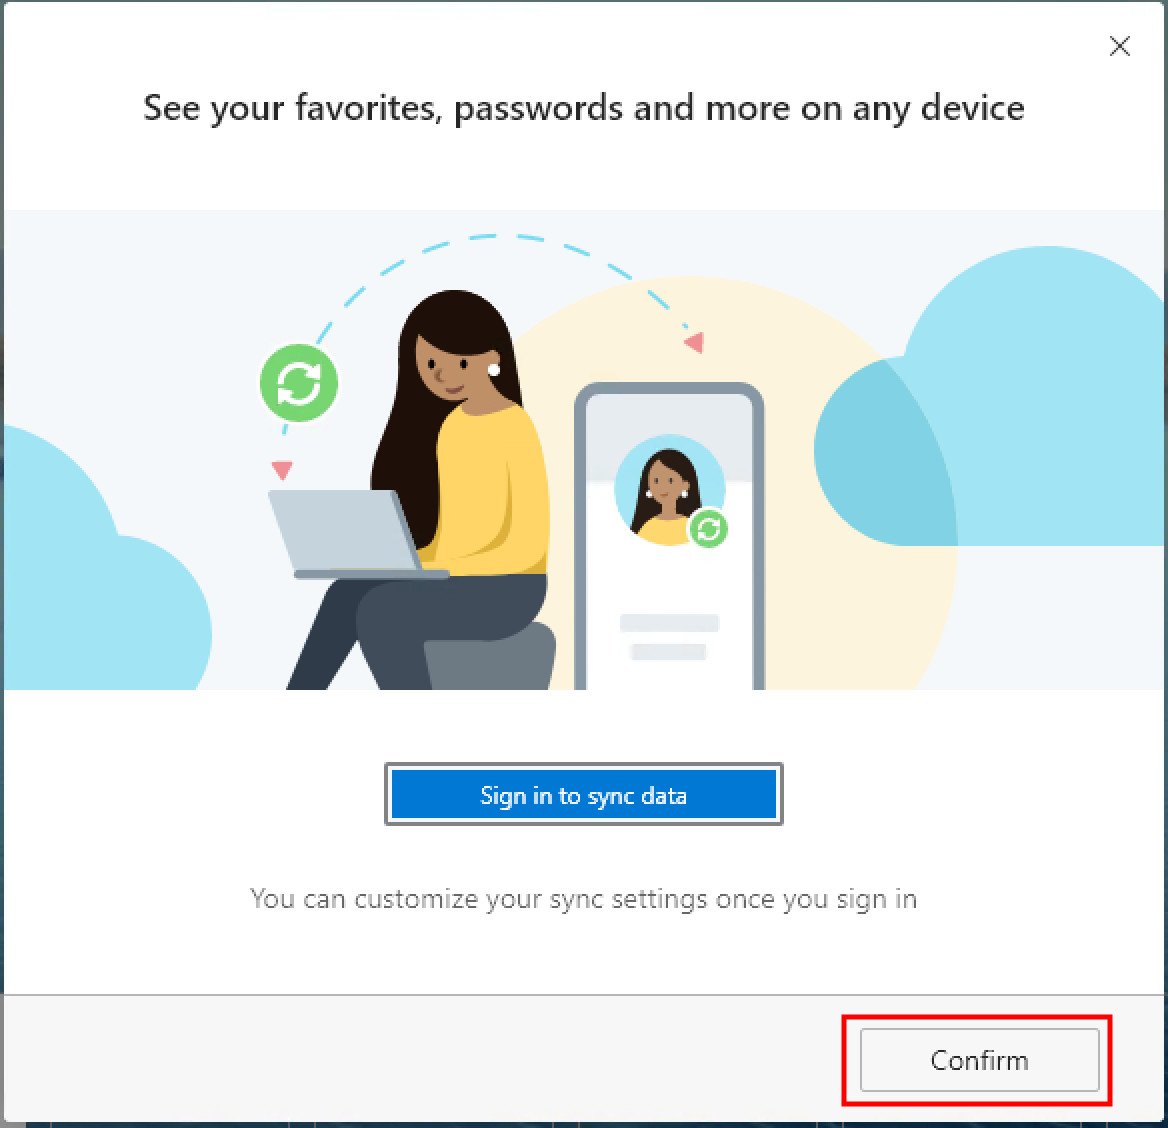
Step 6: That’s it. A new profile has now been created.
You can start using the profile immediately. From now on, any bookmarks that you create or passwords that you save will be stored locally. This will be totally different from the earlier profile and data won’t be shared between the two.
Sign-In to Microsoft Account using Profile
You also get an option to backup your profile data online and sync everything between multiple devices using the same profile by signing in with a Microsoft account.
Step 1: Open Edge browser and click the profile icon from the top-right corner.
Step 2: From the drop-down menu, click on the “Sign In” button. Make sure that you are clicking the Sign In button for the profile you need to sync data online.
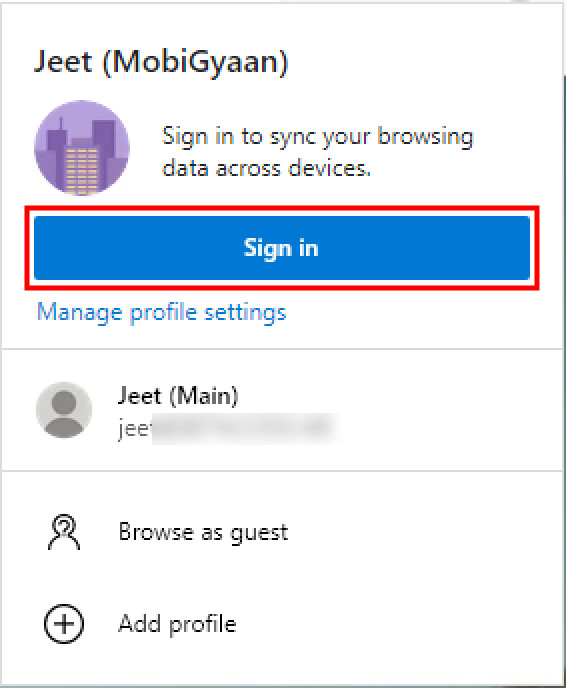
Step 3: Select Work or School Account if you want to sign in with a work account. If you want to sign-in with a personal account, select Microsoft Account.
Step 4: Once you are signed in, click on “Sync” to start syncing your browsing data.
You can also click on “Customize” button which will enable you to select the specific type of data that you want to sync to your Microsoft Account.
Switch Between Different Profiles
When you have multiple profiles on your Microsoft Edge browser, you can switch between them very easily. Just click on the profile icon in the top-left corner and from the drop-down menu, just select the profile that you want to use.
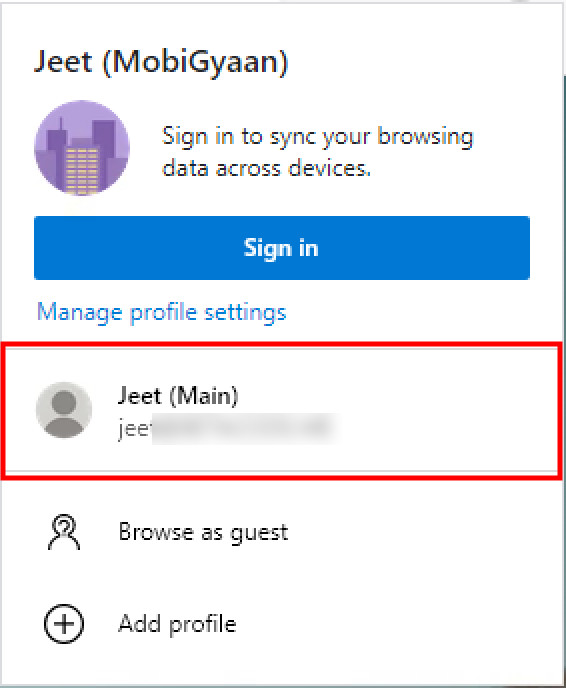
Once you click on the profile, it will open a new Edge browser window with the profile activated. You can either close the previous window or keep both the windows open to switch between profiles.
Manage Profile Settings
You can also edit details related to the profile through the “Manage Profile Settings” area. The functionality is clearly indicated in the name itself.
Step 1: Open the Edge browser and click on the profile icon in the top-left corner.
Step 2: Below the “Sign In” button, there’s a link named “Manage Profile Settings”. Click on it to open the settings page.
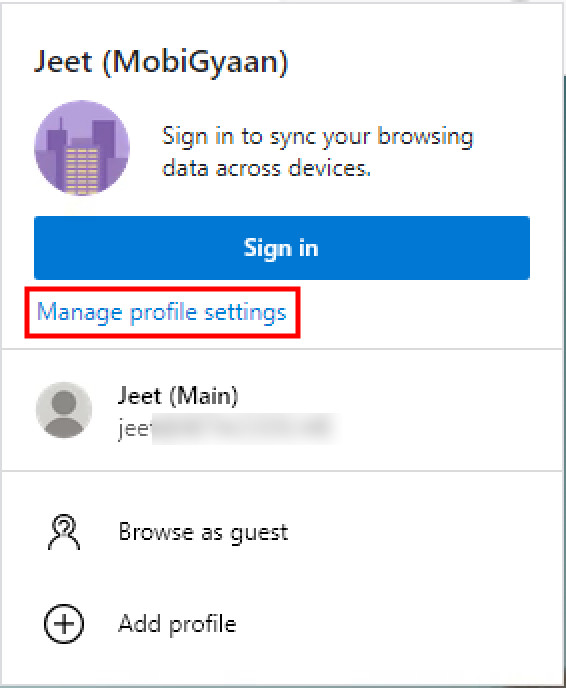
Step 3: To change the Name and Profile Picture of the profile, click on the three-dots icon and select “Edit” from the options.
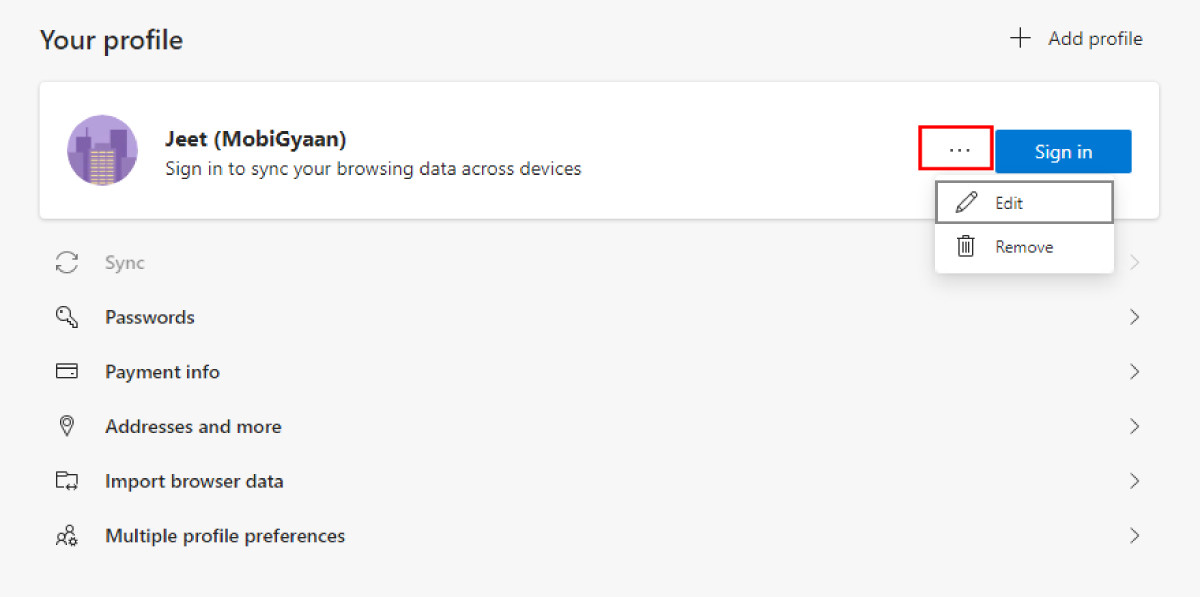
Step 4: If you want to remove the profile, just click on “Remove” option from the drop-down menu instead of Edit option.
To edit details about other profiles, just select the profile from the “More profiles” section and repeat the step 3 with the other profile.
Apart from changing name and the profile picture, you can also manage several other options, including passwords, payment info, addresses, and more.
We’ve written a lot of guides related to Windows 10, macOS, Android, iOS, Chromebooks, among others. So, make sure to check out our Guides section for more of such helpful guides and tips.

