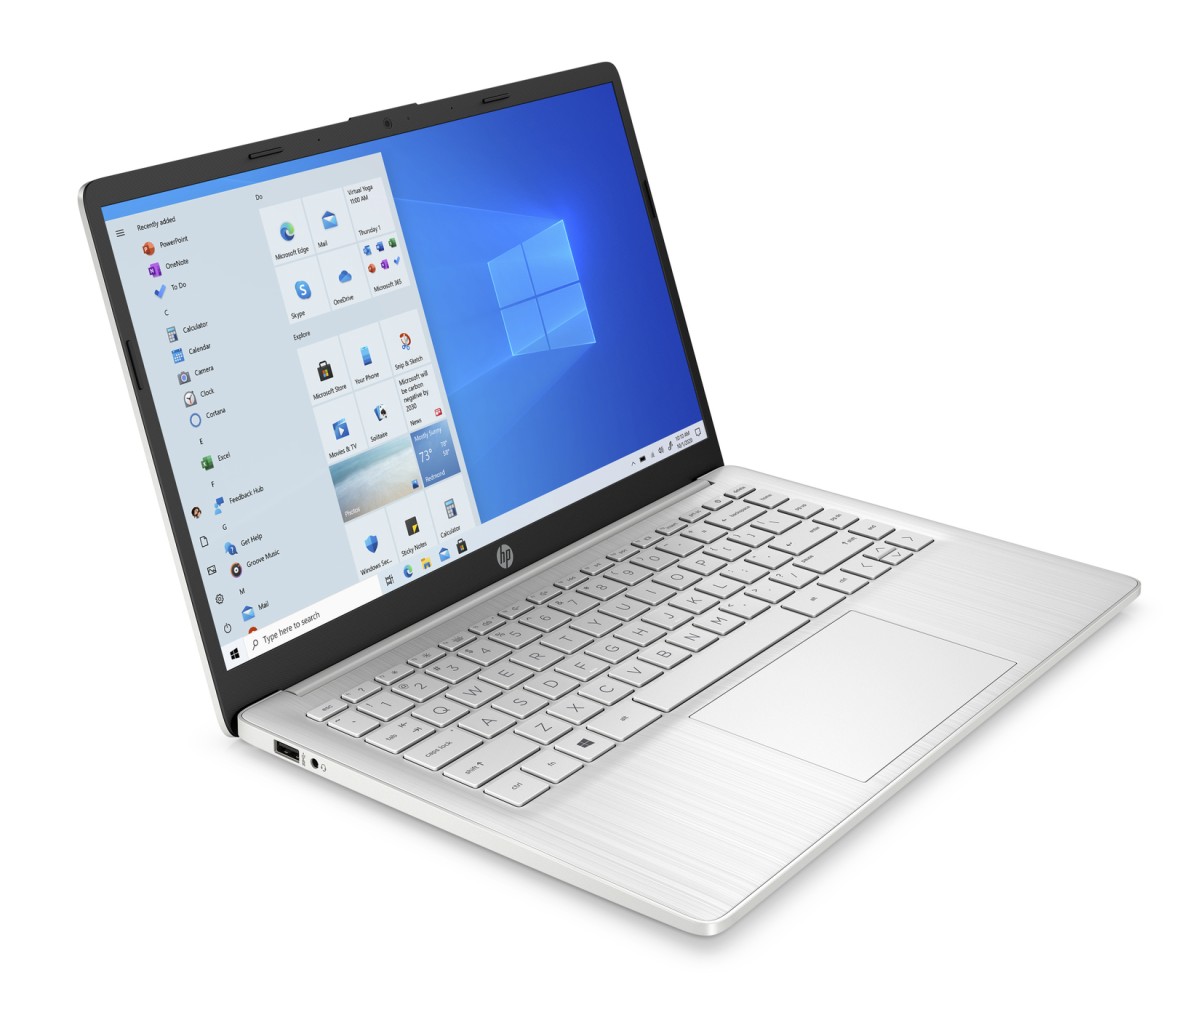
The Windows 11 operating system comes with an updated Start Menu. It is actually a modern or Universal Windows Platform (UWP) menu app. UWP apps can be used across all compatible Microsoft Windows devices, including PCs, tablets, Xbox One, Microsoft HoloLens, and more.
While the Start Menu is helpful, it is also one of those tools that a lot of users face issues with. Many users have been complaining about Start Menu not opening or not working properly. Thankfully, there’s an easy fix in case the Start Menu on the Windows system isn’t working properly.
In this step-by-step guide, we will show you how the Start Menu can be fixed or reset in the Windows 11 operating system just by entering a command in PowerShell.

How to Reset Start Menu in Windows 11 using PowerShell
Step 1: Open PowerShell as an administrator on your computer. You can open the Start Menu and search for the application and from the search results, click on the “Run as Administrator” to open the app as admin.
Alternatively, you can press the Windows + R keys on the keyboard and when the Run prompt opens, enter the following command:
powershell Start-Process powershell -Verb runAs
Step 2: When the PowerShell opens, enter the following command to reset the Start Menu:
Get-AppxPackage Microsoft.Windows.ShellExperienceHost | Foreach {Add-AppxPackage -DisableDevelopmentMode -Register "$($_.InstallLocation)\AppXManifest.xml"}
Step 3: If you want to reset the Start Menu on your computer for all the users, then use the following command:
Get-AppxPackage -AllUsers Microsoft.Windows.ShellExperienceHost | Foreach {Add-AppxPackage -DisableDevelopmentMode -Register "$($_.InstallLocation)\AppXManifest.xml"}
That’s it. Once you have followed the above-mentioned steps and entered the relevant commands in the PowerShell, the Start Menu on your Windows 11 computer should be running normally. If you are facing an issue or getting an error while entering the commands in the PowerShell, open the Task Manager, end the Windows Shell Experience Host process and repeat the above-mentioned steps again.

