The Windows 11 operating system from Microsoft comes with several features that are rarely used but they are very important and one such feature that the company adds to its OS is the System Restore. It basically allows users to create restore points or the system can automatically do that so that the system can be rolled back to the last known good state of the computer.
While the feature is quite helpful when needed, it is the one rarely used by the vast majority of the users. One major drawback of the feature enabled on the device is that it takes up a significant amount of storage space on the computer, which adds up over time when there are multiple restore points.
If you don’t want to disable the feature so that you can use it when needed, you can delete selected restore points from the device which you think are not useful, to free up some storage on your computer.
There are multiple ways to delete a system restore point from the Windows 11 operating system but in this step-by-step guide, we will show you how you can quickly and easily delete system restore points using the built-in terminal application on your computer.
How to delete system restore points in Windows 11
Step 1: Open the Terminal app in the Administration mode on your Windows 11 computer. To do this, right-click on the Start menu and then click on the “Terminal (Admin) option.
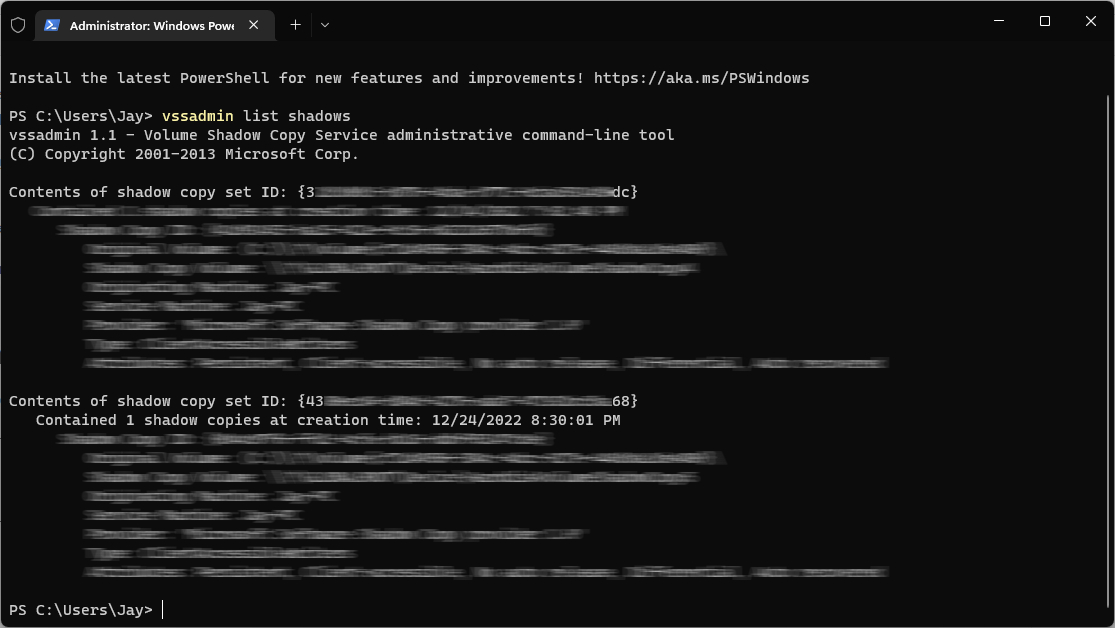
Step 2: When the app opens, enter the following command to list all the system restore points:
vssadmin list shadows
Step 3: Select and copy the shadow copy shadow ID for the restore point that you want to delete.

Step 4: After that, enter the following command:
vssadmin delete shadows /Shadow={ShadowID}
If goes without saying that you will need to replace the {ShadowID} in the above command with the actual shadow ID that you copied.
Step 5: Enter the “Y” and press the Enter key when the screen prompts.
That’s it. Once you have followed the above-mentioned step-by-step guide on your Windows 11 computer, then the selected system restore point has been removed from the computer. You can either close the terminal or follow the process again to remove another system restore point from the device.
